![]()
How I Set Up Google Performance Max Campaigns (Step-by-Step Guide for 2026)
Introduction
Google Performance Max is one of the most powerful and misunderstood campaign types in Google Ads today. If you’re planning to run PMax campaigns in 2026, the quality of your setup will decide whether it becomes your best scaling channel or quietly drains your budget with little to show for it.
I’ve set up and managed Performance Max campaigns across eCommerce and lead generation accounts, and one thing has been consistent: PMax rewards structure, data quality, and patience.
In this guide, I’ll walk you through exactly how I set up a Performance Max campaign, step by step, and explain why each decision matters so you’re not blindly following Google’s automation.
This guide applies to:
- eCommerce brands
- Lead generation businesses
(The setup flow is the same; only the inputs differ)
Where Performance Max Fits in Your Google Ads Strategy
Before we touch setup, let me be very clear:
I do not start new accounts with Performance Max.
Here’s why:
For eCommerce Brands
I always begin with:
- Search campaigns
- Standard Shopping campaigns
This helps me identify:
- Which products actually convert
- Which product titles and attributes work
- Whether landing pages are doing their job
Only after this data exists do I introduce Performance Max to scale beyond search demand.
For Lead Generation Businesses
I wait even longer.
Performance Max relies entirely on automated bidding, which means if your conversion data is weak or offline conversions aren’t tracked properly, you’ll attract low-quality or spam leads.
Rule I follow: If Search campaigns aren’t profitable yet, PMax won’t magically fix that.
Step 1: Create a New Campaign (The Right Way)
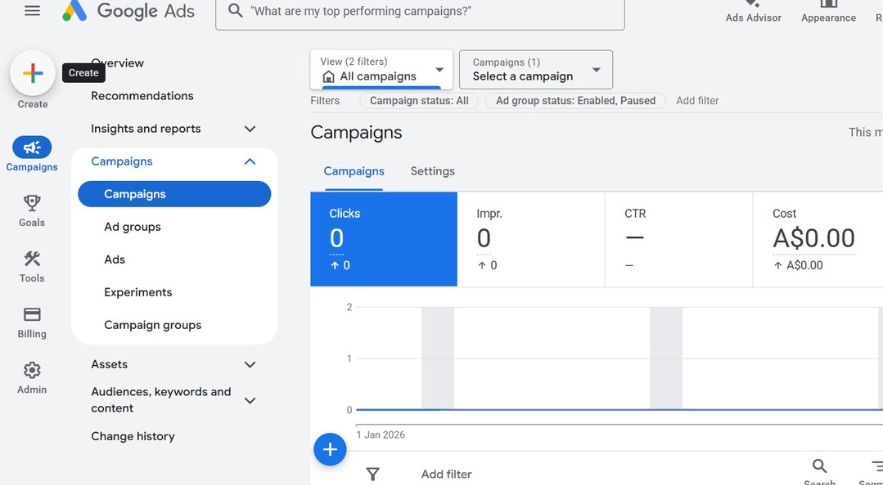
Inside Google Ads, you can start in two ways:
- Click Create → New Campaign
- Or use the blue “+” button
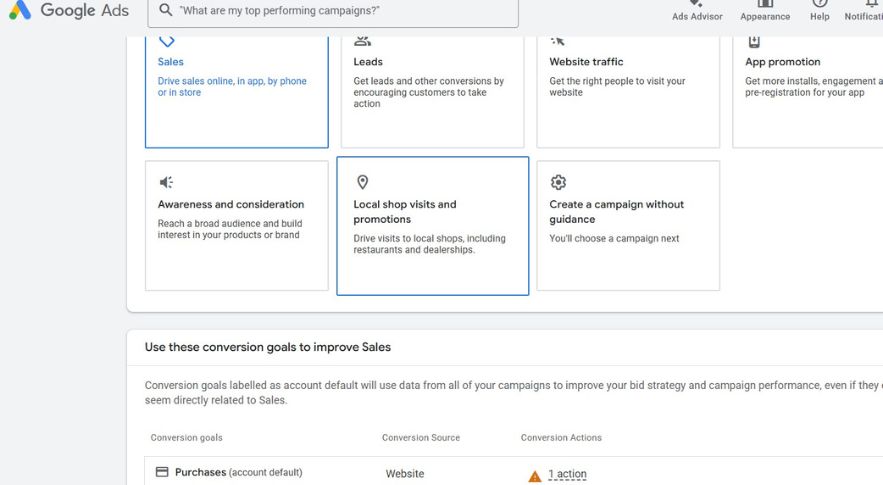
Choose Your Objective
- Sales → eCommerce
- Leads → Service / Lead Gen
This choice doesn’t radically change performance it just guides the setup flow. I don’t overthink it.
Step 2: Select the Correct Conversion Goals
This step is critical.
For Performance Max:
- You can only use Smart Bidding
- Google will optimize only for the conversion goals you select
What I do:
- Remove secondary or low-quality conversions
- Keep only primary actions (purchases or qualified leads)
Removing a goal here does not delete it from your account. It only removes it from this campaign.
For lead gen, I strongly recommend:
- Multi-step forms
- Phone calls longer than 2–3 minutes
- Offline conversions (CRM-integrated)
Step 3: Choose Performance Max (And Merchant Center for eCommerce)
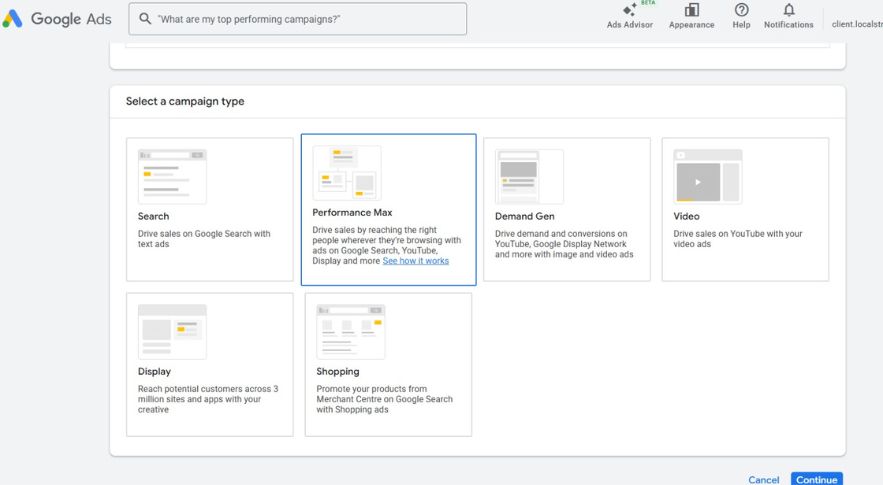
After clicking Continue, select Performance Max.
If You’re an eCommerce Brand
- Select the correct Google Merchant Center
- Make sure the feed is clean and accurate
If Merchant Center isn’t ready, stop here and fix that first.
Step 4: Name Your Campaign Properly
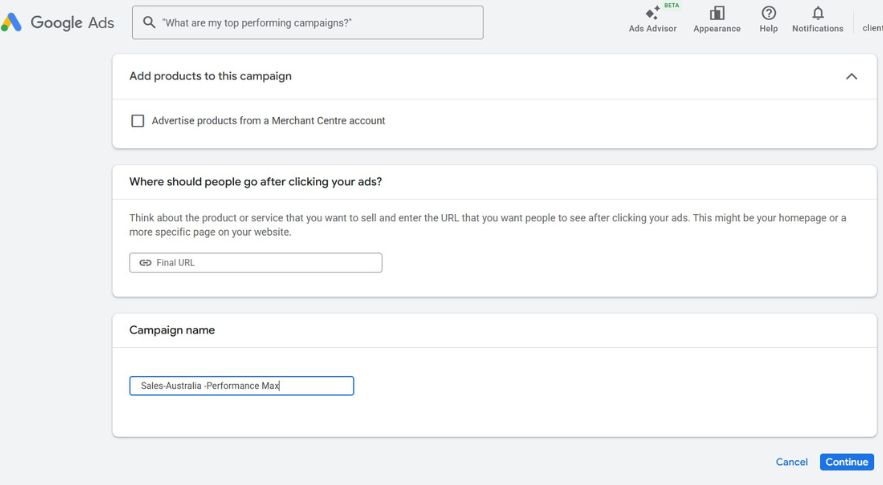
Naming conventions matter more than people think.
I use this format:
Sales – Australia (PMax)
This instantly tells me:
- Objective
- Geography
- Campaign type
When accounts scale, this saves hours.
Step 5: Choose the Right Bidding Strategy
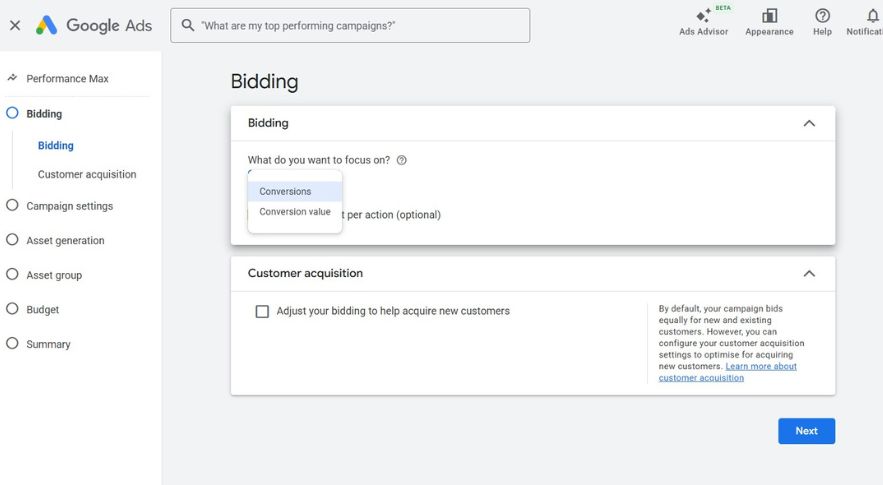
Performance Max gives you only two options:
1. Maximize Conversions
Best for:
- Lead generation
- When all conversions have similar value
2. Maximize Conversion Value
Best for:
- eCommerce
- Businesses with variable order values
Important: Don’t Set tCPA or tROAS Initially
I leave targets unset for the first 30–60 days.
Why?
- PMax performance often exceeds Search or Shopping ROAS
- Early targets can throttle learning
- You don’t yet know PMax’s true efficiency ceiling
I add targets only after stable data exists.
If you’re also learning how Google Ads automation and AI-driven campaign systems are changing in 2026, read my complete Google Ads 2026 guide where I break down the biggest platform updates, automation trends, and strategy shifts.
Step 6: New Customer Bidding (Use Carefully)
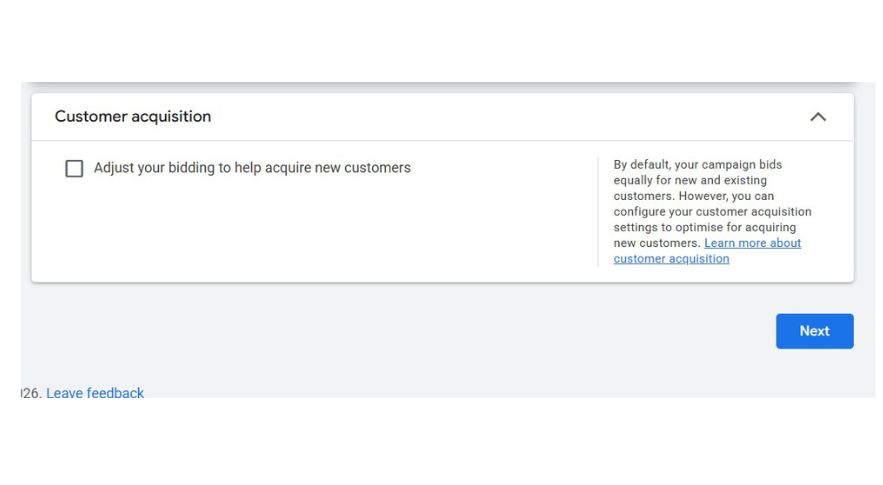
Google allows you to:
- Bid higher for new customers
- Or bid only for new customers
I like this strategy but I use it cautiously.
Due to past PMax delivery issues, I now rely more on brand exclusions and negative keywords instead of forcing “new customers only.” This avoids overlap with Search and Shopping.
Need help setting up Performance Max campaigns correctly?
Many businesses waste budget because of poor asset structure, tracking mistakes, and weak audience signals. If you want a second opinion on your setup, you can book a strategy call with me.
👉 Book a Google Ads Strategy Call
Step 7: Location, Brand & Demographic Settings
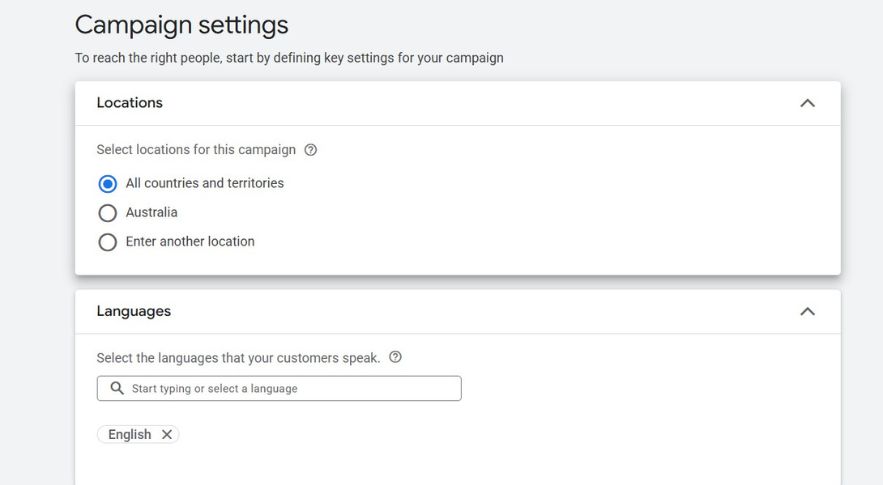
Location Targeting
- Set your exact target country/region
- Performance Max does not allow location edits easily later
Brand Exclusions (Mandatory)
If you skip this, PMax will spend heavily on brand searches and you’ll pay for traffic you’d get anyway.
Always exclude:
- Your brand name
- Brand variations
- Domain name
Demographics (Optional)
If your data shows certain age groups never convert, you can exclude them—but do this slowly and only with proof.
Step 8: Skip Google’s Auto Asset Generation
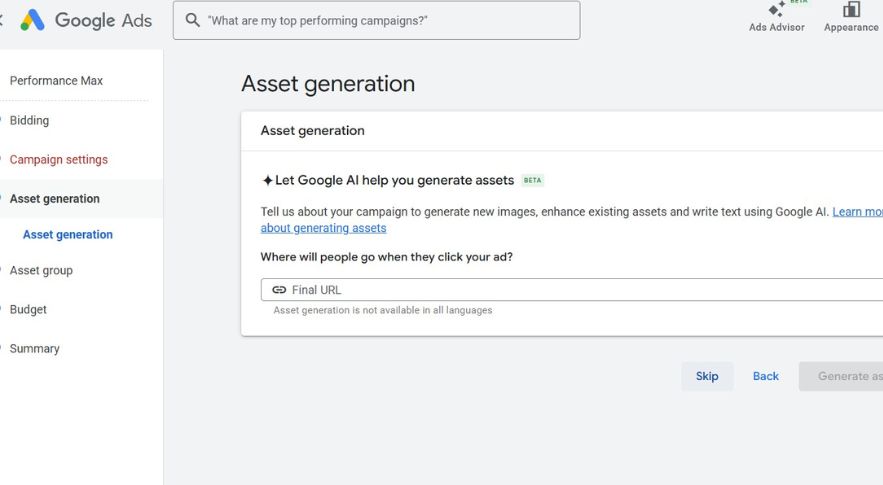
Google will offer to auto-generate assets.
I skip this.
Why?
PMax is powerful because of your inputs, not because of default automation.
I prefer full control over:
- Headlines
- Descriptions
- Images
- Videos
Step 9: Understand Asset Groups (This Is Crucial)
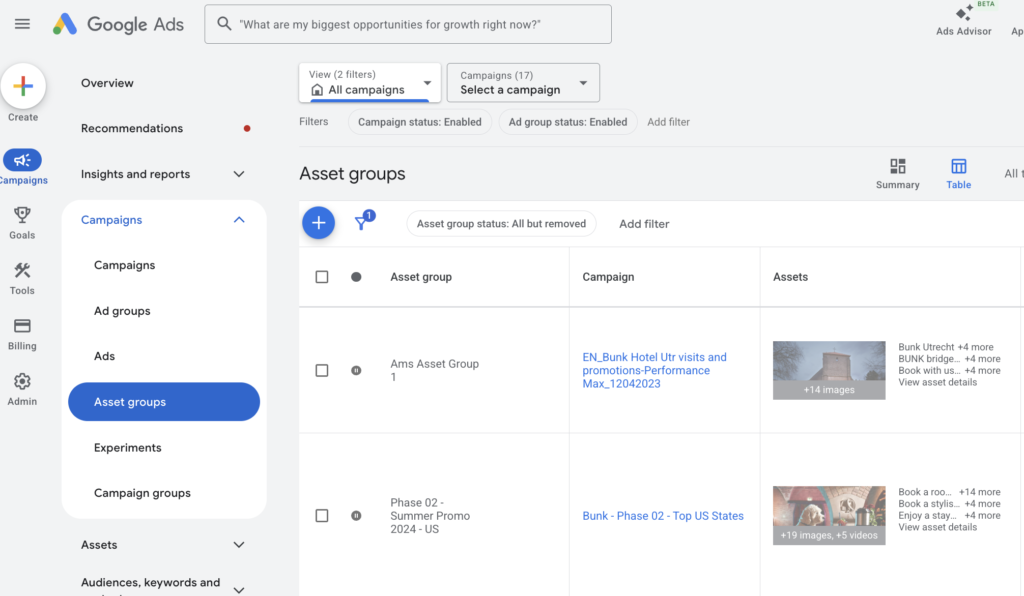
Think of Asset Groups as Ad Groups.
I structure asset groups to match website structure, not guesses.
Example:
If a brand sells toothpaste and mouthwash, I create:
- Asset Group 1 → Toothpaste
- Asset Group 2 → Mouthwash
This improves:
- Relevance
- Learning speed
- Reporting clarity
Step 10: Listing Groups (eCommerce Only)
Inside each asset group:
- Create a listing group
- Restrict products intentionally
Options include:
- Item ID
- Brand
- Product type
- Custom labels
This prevents product overlap and keeps poor-performing SKUs from dragging performance down.
A strong Performance Max campaign also depends on proper campaign organisation, conversion tracking, and account structure. I explained the full framework in my Google Ads account structure guide.
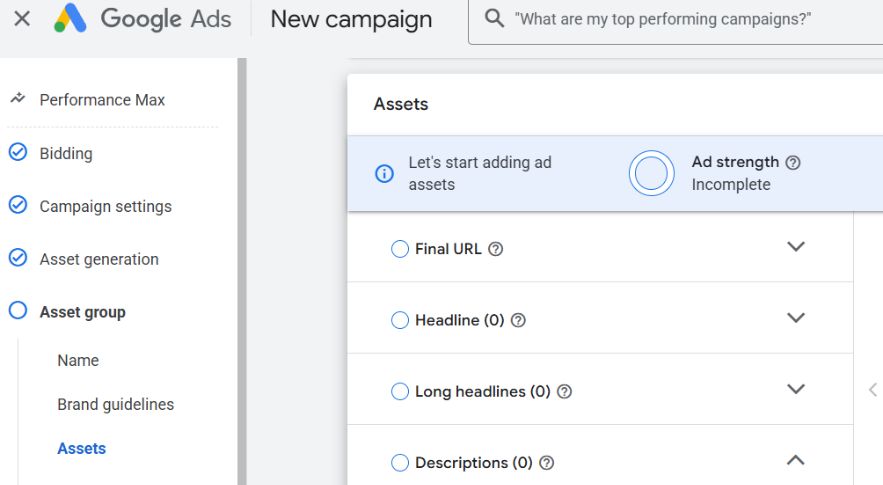
Step 11: Add URLs, Headlines & Descriptions
URLs
- Main URL = primary landing page
- Listing group ensures product focus
Headlines & Descriptions
I reuse:
- Best-performing Search headlines
- Proven messaging
Minimum I recommend:
- 10–15 headlines
- 4 long headlines
- 4–5 descriptions
Performance Max is secondary, so borrow what already works.
Step 12: Images & Videos (Don’t Overthink This)
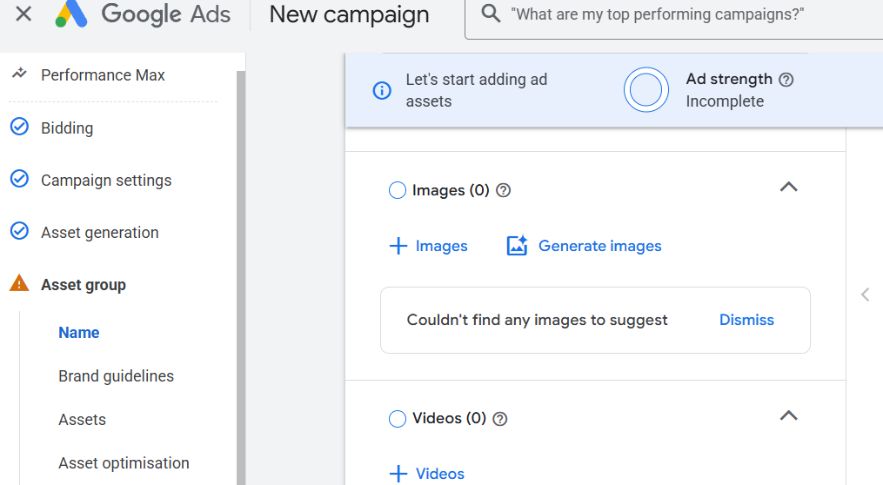
From high-performing PMax campaigns I’ve seen, 90%+ of spend goes to Search and Shopping. Display and YouTube are supportive, not primary.
So:
- Upload required image formats
- Upload at least one video
But test creatives more aggressively in YouTube or Demand Gen, not PMax.
Step 13: Add Extensions (Highly Recommended)
Always add:
- Sitelinks
- Callouts
- Promotions
- Price extensions (if applicable)
These increase ad real estate, improve CTR, and improve conversion intent.
Step 14: Audience Signals (Guidance, Not Targeting)
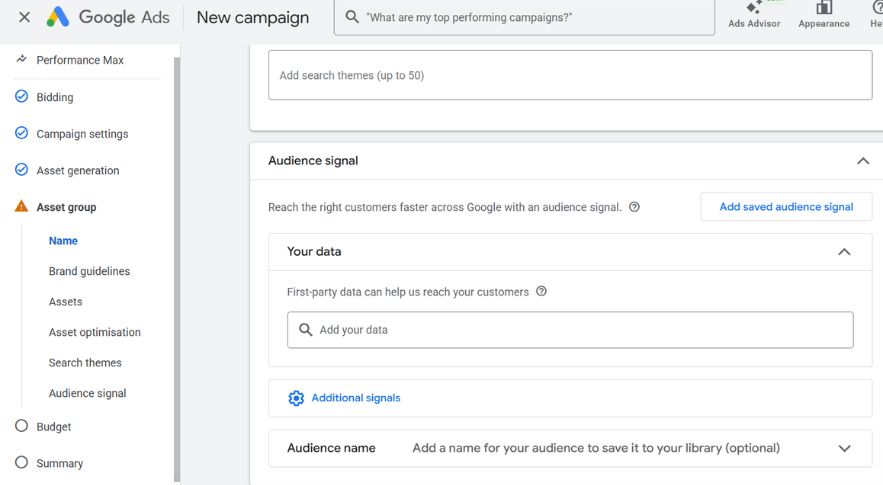
This is where many people get confused.
Audience signals do NOT restrict targeting. They are recommendations.
What I add:
- All website visitors
- Past purchasers / converters
- High-intent page visitors
- Customer match lists
Search Themes
I add 3–5 proven broad-match keywords based on Search campaign data.
Google will go beyond these—but they accelerate learning.
Step 15: Budget Setting (Non-Negotiable Rule)
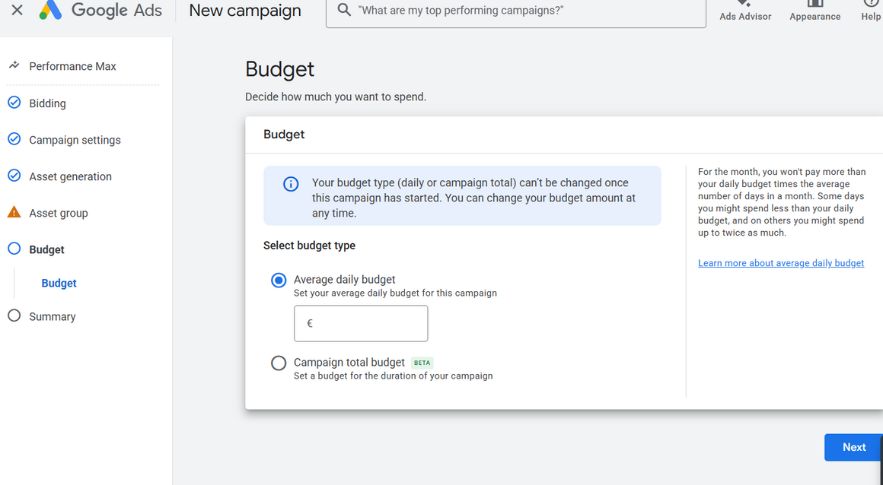
For Performance Max to work, I aim for:
- 20+ clicks per day
- Ideally 1+ conversion per day
If that requires $100/day, that’s the minimum.
Underfunded PMax campaigns fail silently.
Step 16: Publish & Expand with More Asset Groups
Once published:
- Let it run
- Monitor learning
- Avoid changes for at least 2 weeks
To scale:
- Add additional asset groups
- Separate products or services clearly
- Keep listing groups clean (eCommerce)
Want Better Google Performance Max Results in 2026?
Performance Max works extremely well when campaign structure, conversion tracking, audience signals, and creative strategy are aligned correctly. Most accounts fail because of setup mistakes — not because Performance Max itself is bad.
If you want help improving your Google Ads performance, scaling ROAS, or fixing underperforming campaigns, let’s work together.
Frequently Asked Questions
Q1. What is a Google Performance Max campaign and how is it different from regular Google Ads? Performance Max is a goal-based campaign type that runs across all Google channels-Search, Display, YouTube, Gmail, and Maps from a single campaign. Unlike regular campaigns where you choose one channel, PMax uses Google’s AI to automatically find the best placements and audiences to hit your conversion goals.
Q2. What do I need before setting up a Performance Max campaign?
Before you start, you need a Google Ads account, Google Analytics linked to your account, conversion tracking set up correctly, and your creative assets ready including headlines, descriptions, images, logos, and videos. Without proper conversion tracking, PMax cannot optimise effectively.
Q3. How much budget should I set for a Performance Max campaign in 2026?
There’s no universal answer, but as a starting point, set a daily budget that allows at least 10–20 conversions per month. Google’s algorithm needs sufficient data to learn and optimise. Running on too low a budget slows down the learning phase and hurts performance.
Q4. What are asset groups in a Performance Max campaign?
Asset groups are where you upload all your creative elements headlines, descriptions, images, videos, and call-to-actions. Google then automatically mixes and matches these assets to create the best-performing ad combinations across different placements and audiences.
Q5. How long does it take for a Performance Max campaign to start showing results?
PMax campaigns go through a learning phase of typically 2–4 weeks. During this time, avoid making major changes to budget, bidding, or assets as it resets the learning. Judge performance only after the learning phase is complete and you have enough conversion data.
Final Thoughts: How I Think About Performance Max
Performance Max is not:
- A shortcut
- A replacement for Search
- A “set and forget” hack
It is:
- A scaling layer
- Fueled by data quality
- Rewarding structure and patience
If you try to control everything, PMax will frustrate you. If you guide it properly, it can outperform almost every other campaign type.
